|
Install MPM eXecution |
Scroll Previous Topic Top Next Topic More |
As MPM eXecution is built upon a write-back platform the installation consists in several steps. This part of the documentation focuses on the infrastructure set up only. The business use cases' installation - the MPM eXecution modules - is explained here Set up the MPM eXecution modules.
The installation files that you receive after purchasing the product are
•write-back platform installer
•write-back platform manual & installation guide
•MPM eXecution extensions
•MPM eXecution script file
•MPM eXecution Template App
For the infrastructure set up the following steps are necessary:
1.Install the write-back platform
2.Configure the write-back platform
3.Create a data base to write to
4.Upload the write-back extensions
5.Save the MPM eXecution script mw_mpm_eXecution.qvs in the MPM ScriptFolder (see Install MPM)
6.Upload the MPM eXecution Template App
As the platform is delivered with a specific manual & installation guide, this documentation here serves only as an overview.
7.Install the write-back platform
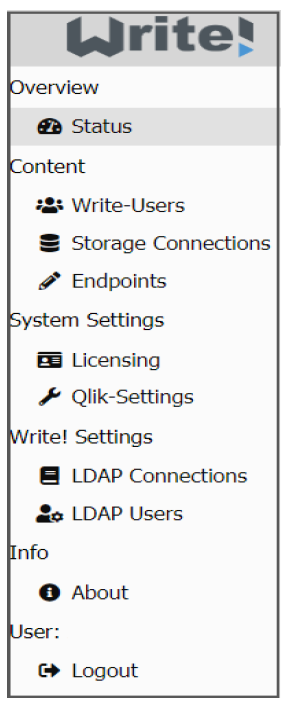
Install the write-back platform by following the instructions in the manual & installation guide (chapter 1) which delivered with the purchased product. If you install the plattform on a dedicated server make sure to install a valid SSL-certificate following the instructions in the installation guide. The write-back platform is managed in the so-called Write Management Console where the license, users, SSL-certificates, the Qlik Sense connections, data base connections and the write-back-endpoints are administered. The WMC can be reached via port 4001. To do this, the server IP with the extension :4001 is entered in the browser (e.g. https://localhost:4001).
2.Configure the write-back platform
Refer to the write-back platform's manual & installation guide (chapter 2) to learn all about the WMC. To start you will need to
i.activate your license,
ii.establish a connection to the Qlik Sense environment,
iii.give rights to the users and
iv.create a storage connection which refers to the data base to which you will write the data.
3.Create a data base to write to
To start with the set up of MPM eXecution custom or pre-defined modules you need to create a data base in which the write-back plattform can create new tables when a so-called Endpoint is defined. These database tables will then store the data created or edited in the MPM app. The write-back platform supports to write data to PostGreSQL, MSSQL, ORACLE, MariaDB or sqlite databases. For more information please refer to the platform's manual and installation guide.
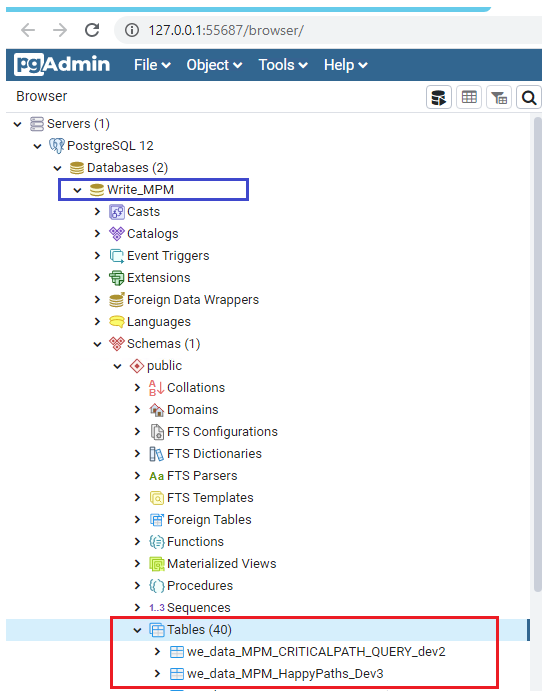
v.In the screenshot below you see that the database Write_MPM (marked blue) was created.
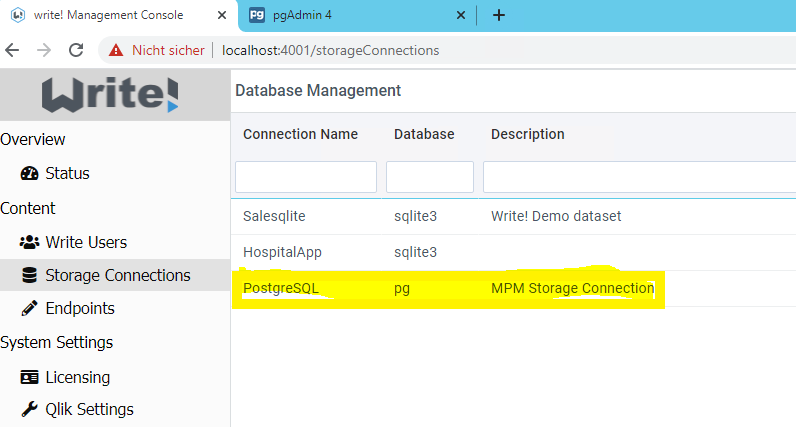
i.This database then is added as storage connection in the WMC.
i.Then, when a new endpoint for this storage connection is defined in the WMC, the database tables (e.g. we_data_MPM_HappyPaths_Dev_3 highlighted with red in the screenshot above) are created. But this step will be described in detail when you Set up the MPM eXecution modules.
4.Upload the write-back extensions
To use the write-back functionality in Qlik Sense apps, the following specific extensions need to be uploaded via the Qlik Management Console (QMC):
vi.QS_Edit
vii.QS_Forms
You find the extensions in the installation file folder for MPM eXecution at <Release-number>\MPM_eXecution\MPM_eXecution_Installer\Extensions.
5.Save the MPM eXecution script mw_mpm_eXecution.qvs in the MPM ScriptFolder that you have created while installing MPM
6.Upload the MPM eXecution Template App via the QMC