|
Data Manager |
Scroll Previous Topic Top Next Topic More |
The Data Manager offers an entry point for users who are not yet familiar with the script syntax of mpmX.
Here, data transformations can be carried out, new fields can be calculated and master data corrections can be made using the low code approach.
You can find a short tutorial on how to use the Data Manager here:
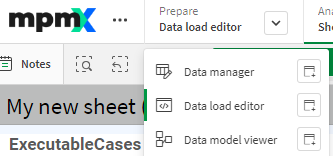
Data Manager
First we have to select which data / tables we want to edit. As none are currently selected, we click on "Add Data".

Data Manager Start
Select which source data you require from the standard connectors.
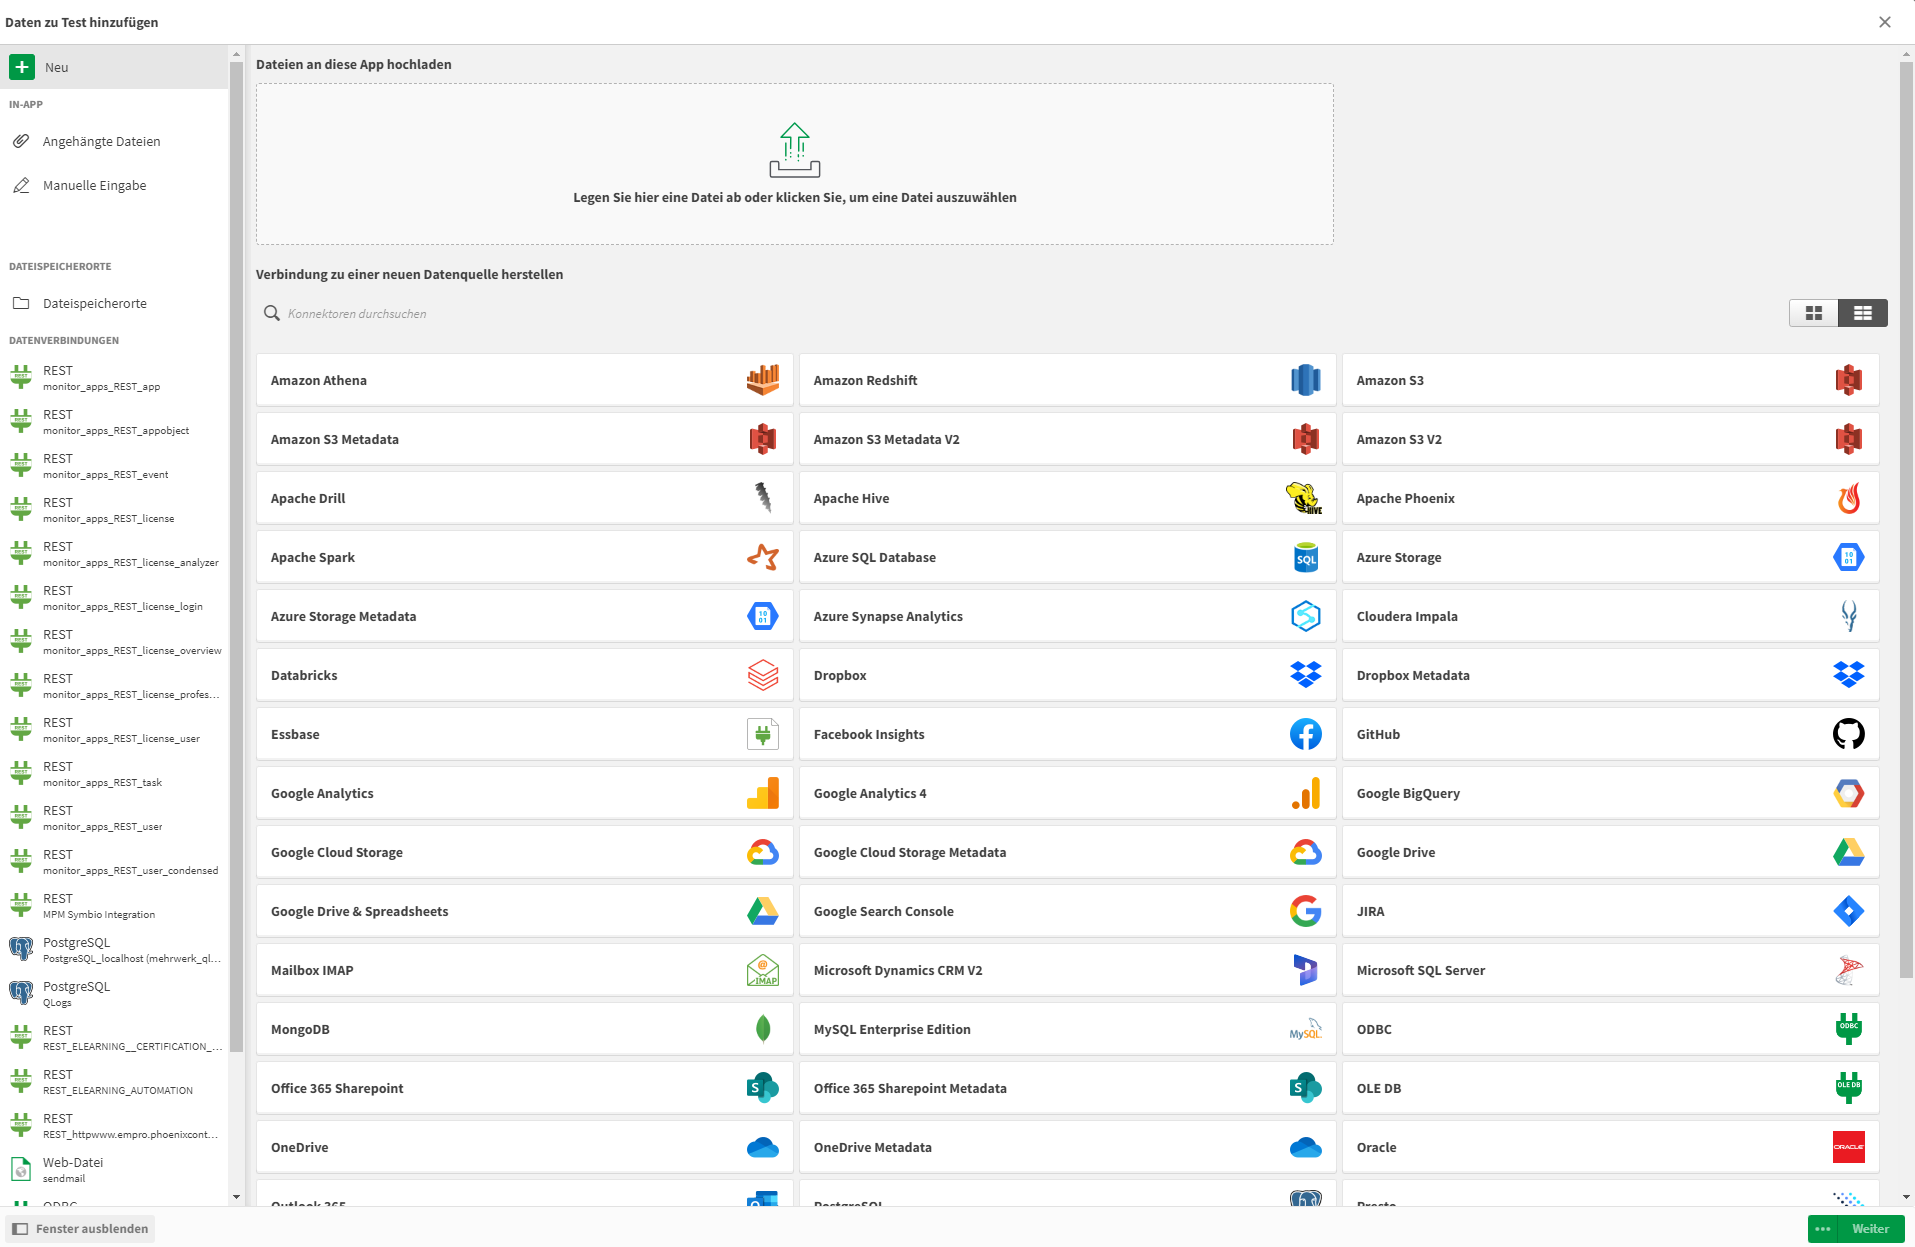
Data Manager New Data
Select the table as you need and add it to the Data Manager.

Data Manager NewData
Add as many tables as you need.
Then select the tables you want to transform.
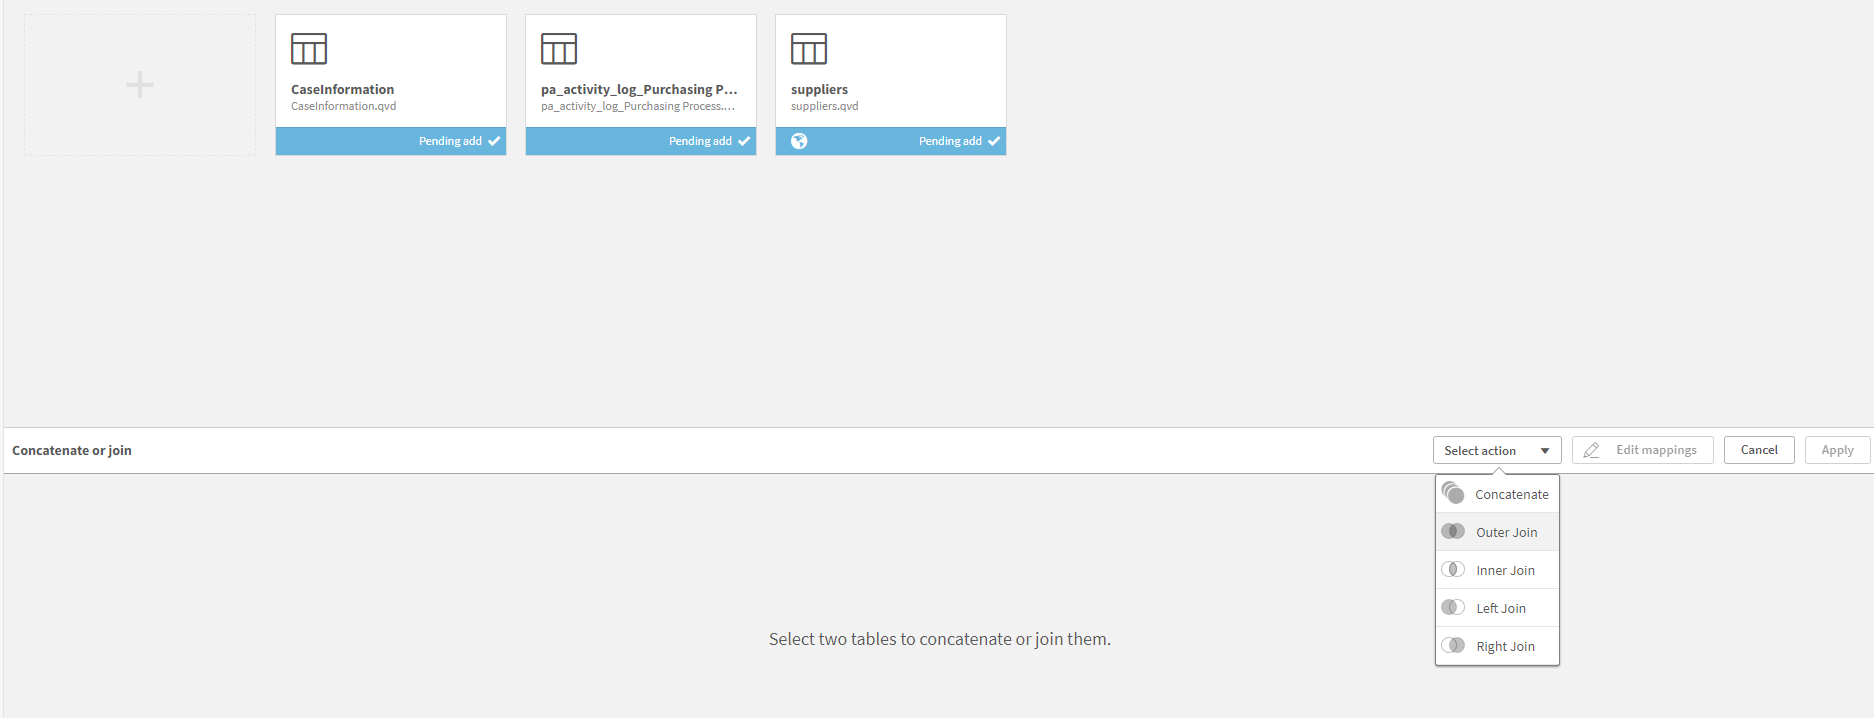
Data Manager - Three Tables
Then select the appropriate action (Concatenate / Outer Join / Inner Join / Left Join / Right Join).

Data Manager - Table Transformation
Drag and drop the data fields you want to include in the transformed table. Then click on "Apply"

Data Manager - Table Transformation View
Then examine the result of the table transformation.
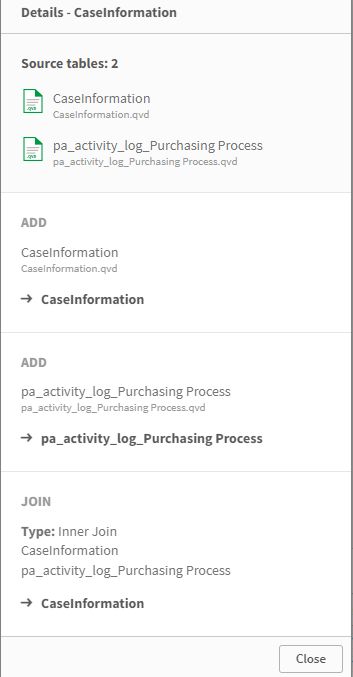
Data Manager - Table - MetaData
If you want to add more fields to a table, select them.

Data Manager - Select Column
You will now land in the table overview and can now calculate new fields using the base table:
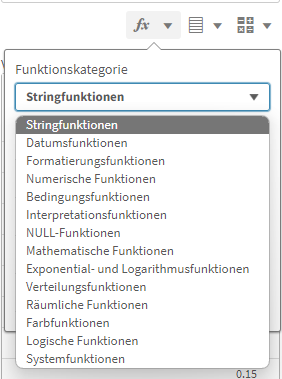
1. Choose which function you would like to select (string functions, date functions, etc.) |
 |
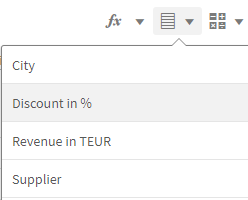
2. Select from which fields / columns you want to calculate the new field |
 |
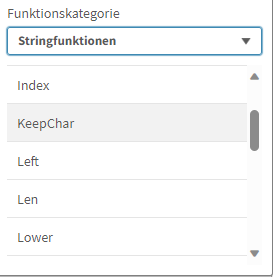
3. Select Logical operators to merge columns |
 |
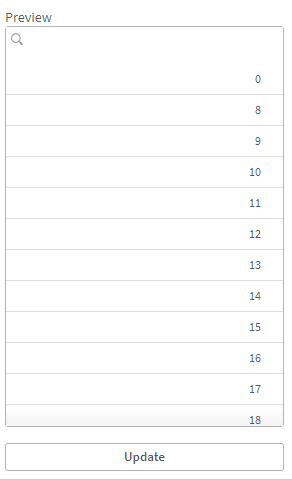
4. You can then see what your new field looks like in the preview window. |
 |
5. You can also assign a descriptive name and view the generated script. |
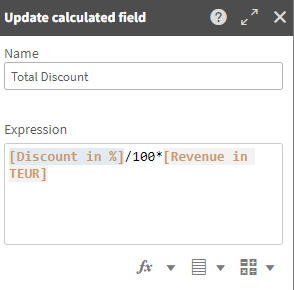 |
If the new column matches your expectations, click on Update.
You then have the option of viewing the newly calculated field.
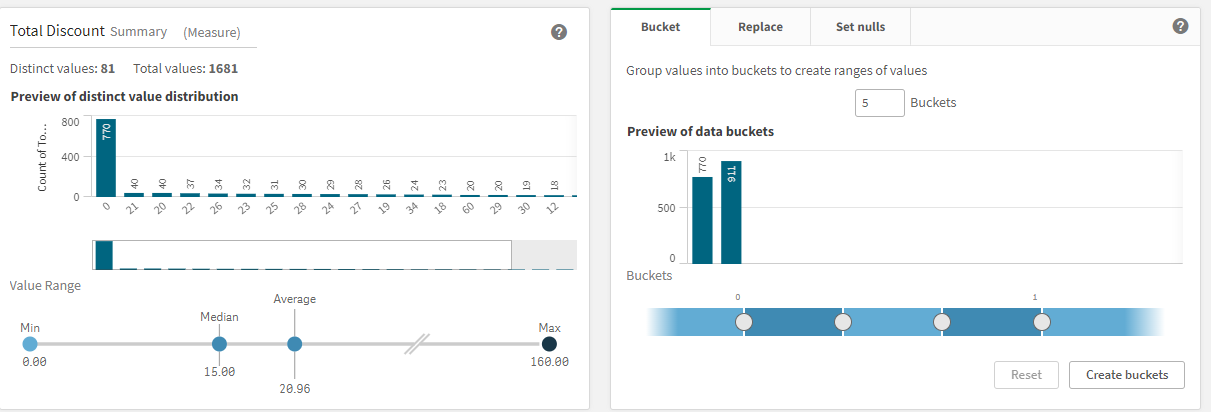
A value distribution is displayed, which you can use to identify possible outliers or master data errors.
You also have the following options
1. "Classify fields or collect them in pots". For example, if you want to create sales classes to identify whether longer throughput times may occur for high invoice amounts |
 |
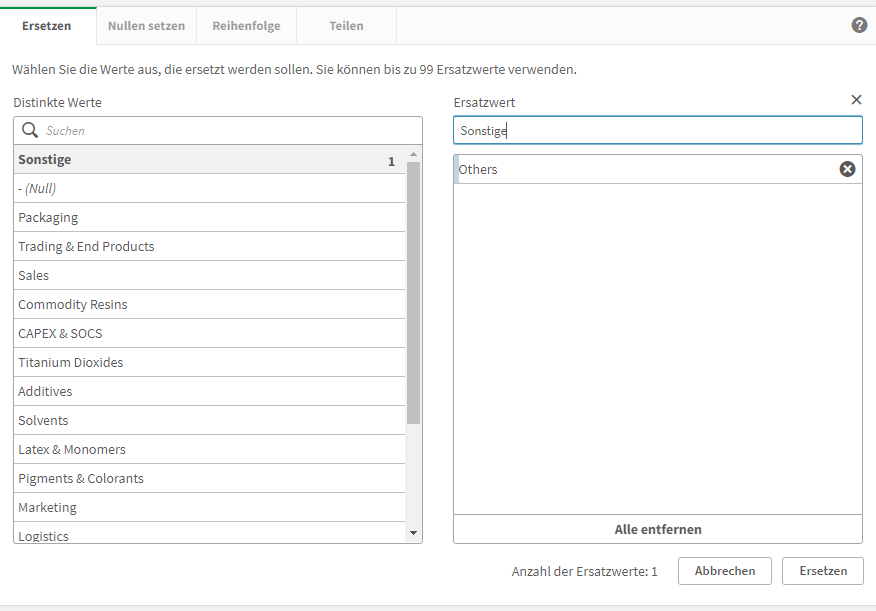
2. You can set distinct values (e.g. correct spelling mistakes) or set values to zero |
 |
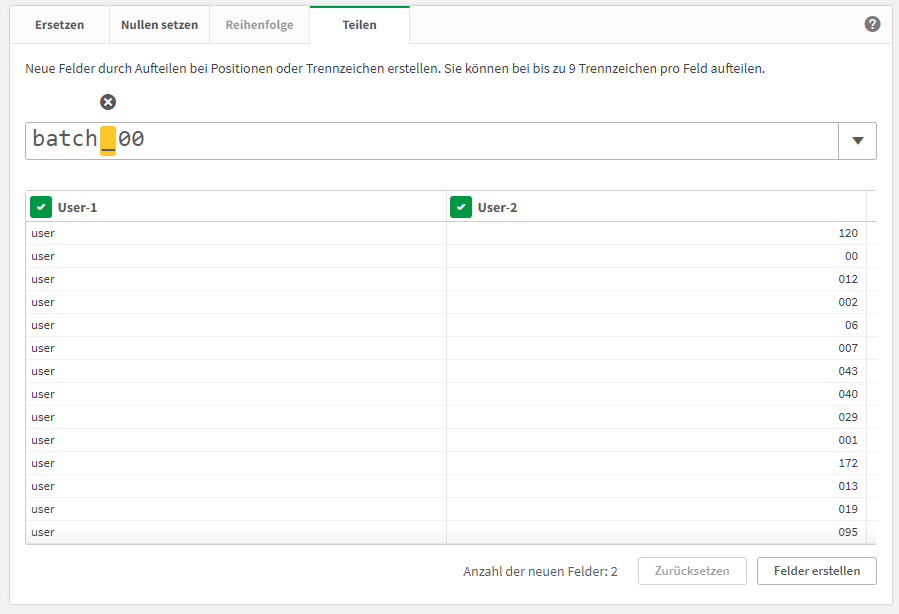
3. You can separate fields at any point, for example if they contain special naming conventions (name ID) or similar. |
 |
The Data Manager therefore gives you a quick and easy way to manipulate data as you wish.
Then use the mpmX Import Wizard (here) to load the prepared data into your mpmX application.