|
Create a Filter Pane |
Scroll Previous Topic Top Next Topic More |
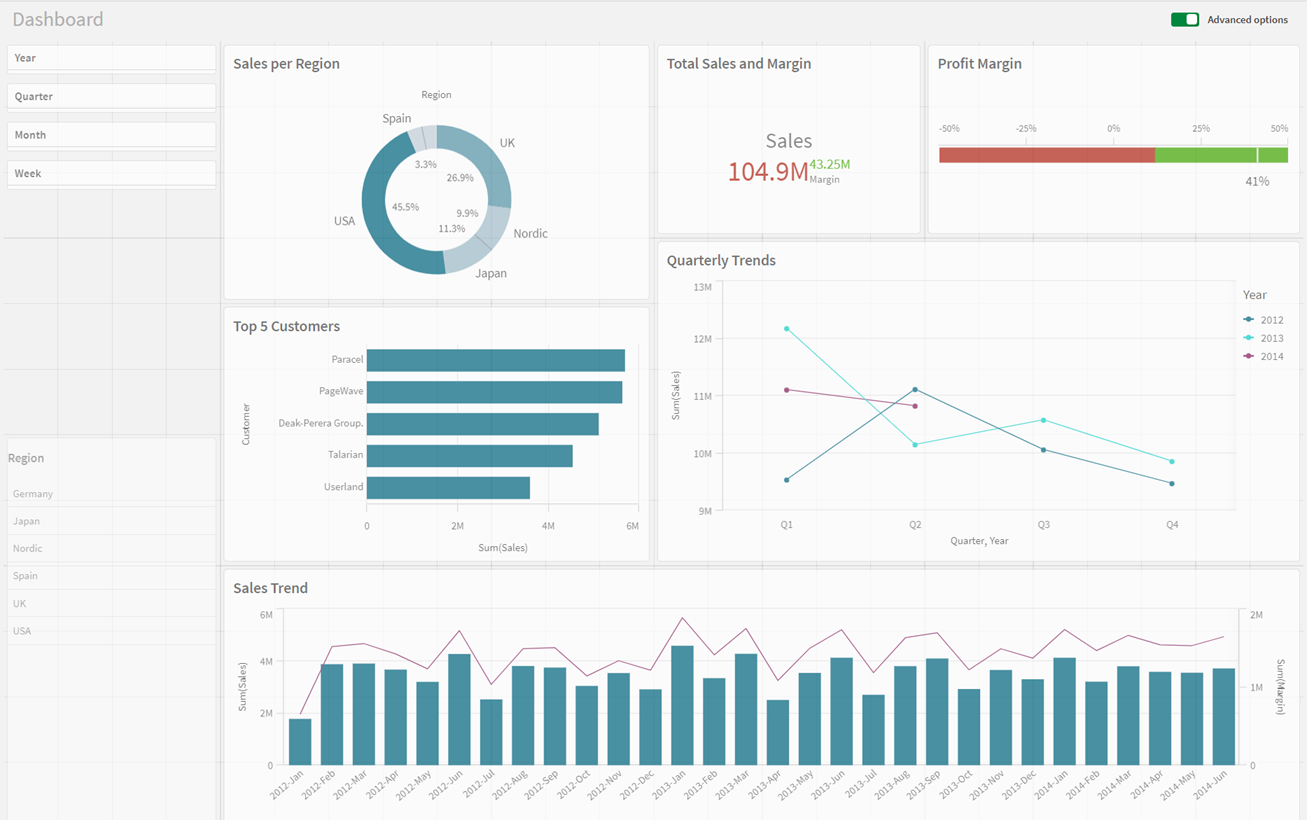
The filter windows are used to filter out a limited data set, which you can then analyze and examine.
Proceed as follows:
1. In the Extras window, click on the diagram icon on the left to open diagrams. Drag a filter window onto the worksheet.
2. Click on the database icon in the Extras window to open fields.
3. Click on Date in the list to open the field
4. Drag the Year field to the center of the filter window and click the expand arrow in the right-hand properties window to expand the dimension and change its title to Year.
5. Drag the Quarter field into the filter window and click on the arrow in the properties window to change its title to Quarter.
6. Drag the Month field into the filter window and click on the arrow in the properties window to change its title to Month.
7. Drag the Week field into the filter window and click on the arrow in the properties window to change its title to Week.
8. Use the drag handles to change the size of the filter window.
9. Right-click on each filter window and select Add to Master Elements
10. Enter the name Period and click Add.
You have created a filter window and saved it as a master element. This makes it easy to reuse in other worksheets.
The second filter window only contains a single dimension, Region.
Proceed as follows:
1. Click on the diagram icon at the top of the Tools window to open diagrams and drag a filter pane onto the worksheet.
2. Click on New dimension, scroll down and select the Region field.
3. Use the drag handles to change the size of the filter window.
4. Right-click on the filter window and select Add to master items
5. Enter the name Region and click Add.
The two filter windows are ready.

Two Filter Panes
You can adjust the position and size of the visualizations on your worksheet as required.